GK76a Exhaust
Forum rules
Please can you post items for sale or wanted in the correct For Sale section. Items / bikes for sale here will be removed without warning. Reasons for this are in the FAQ. Thanks
Please can you post items for sale or wanted in the correct For Sale section. Items / bikes for sale here will be removed without warning. Reasons for this are in the FAQ. Thanks
-
jtmurphy92
- Settled in member
- Posts: 21
- Joined: Wed Dec 12, 2012 1:23 pm
- Bike owned: GSXR400SP GK76a
- Location: Reading
Re: GK76a Exhaust
Donk where the hell did you bleed the radiator from!? i cant seem to find an obvious low point!!
-
donk
- Site Supporter

- Posts: 123
- Joined: Tue Jun 01, 2010 8:48 pm
- Bike owned: Gk76a x2
- Location: worcester
Re: GK76a Exhaust
I just took the rad cap off and took both bottom hoses off the left hand side of the bike . The one on the bottom of the rad and the one by the front sprocket
-
jtmurphy92
- Settled in member
- Posts: 21
- Joined: Wed Dec 12, 2012 1:23 pm
- Bike owned: GSXR400SP GK76a
- Location: Reading
Re: GK76a Exhaust
Yeah I ended up just taking the very bottom hose off by the front sprocket and then the lowest one on the rad and let it all flow. The bolts came out like a beauty! Previous owner must of taken the original ones out at some point and put new ones in as they looked brand new (Wish I knew this before buying new ones from robinsons!!)
Everything is off and ready for the new ss pipes when they arrive on Friday. I'll post a few pics in the next post...
Everything is off and ready for the new ss pipes when they arrive on Friday. I'll post a few pics in the next post...
-
jtmurphy92
- Settled in member
- Posts: 21
- Joined: Wed Dec 12, 2012 1:23 pm
- Bike owned: GSXR400SP GK76a
- Location: Reading
Re: GK76a Exhaust
Ok so I'm going to upload a few pics incase people read this in the future and want a (very) rough idea of the process....
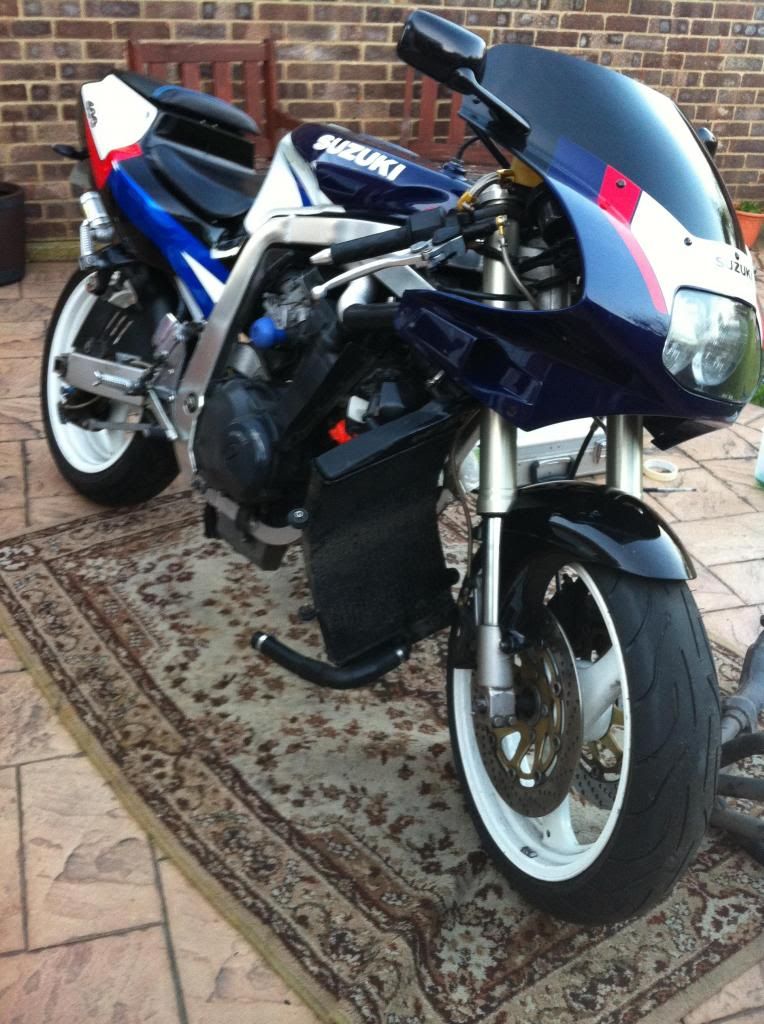
First step was to get all the faring off...
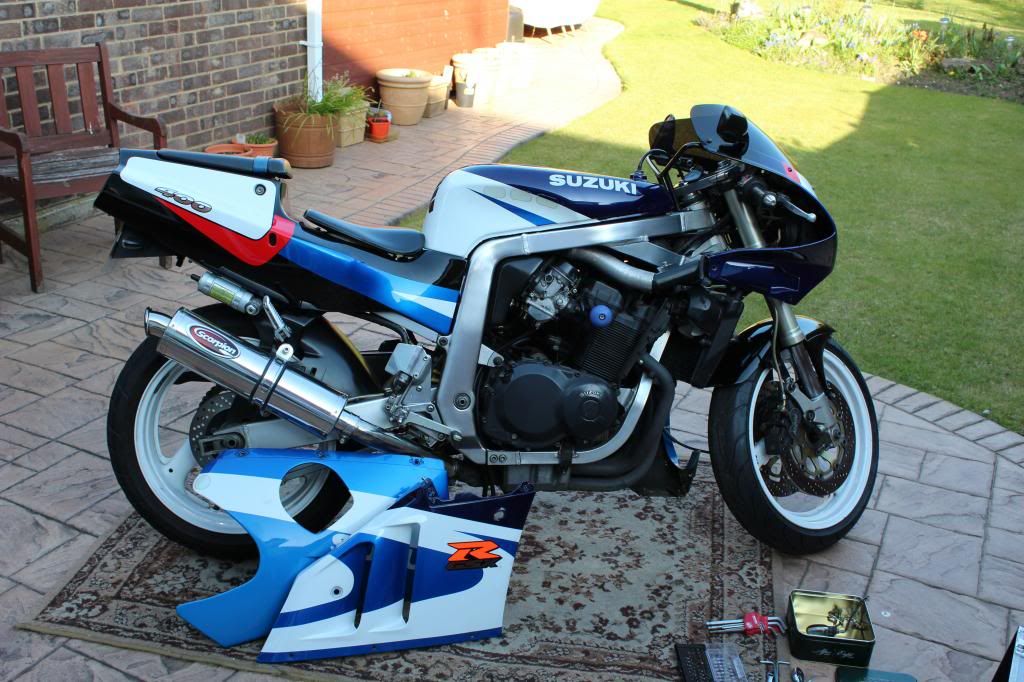
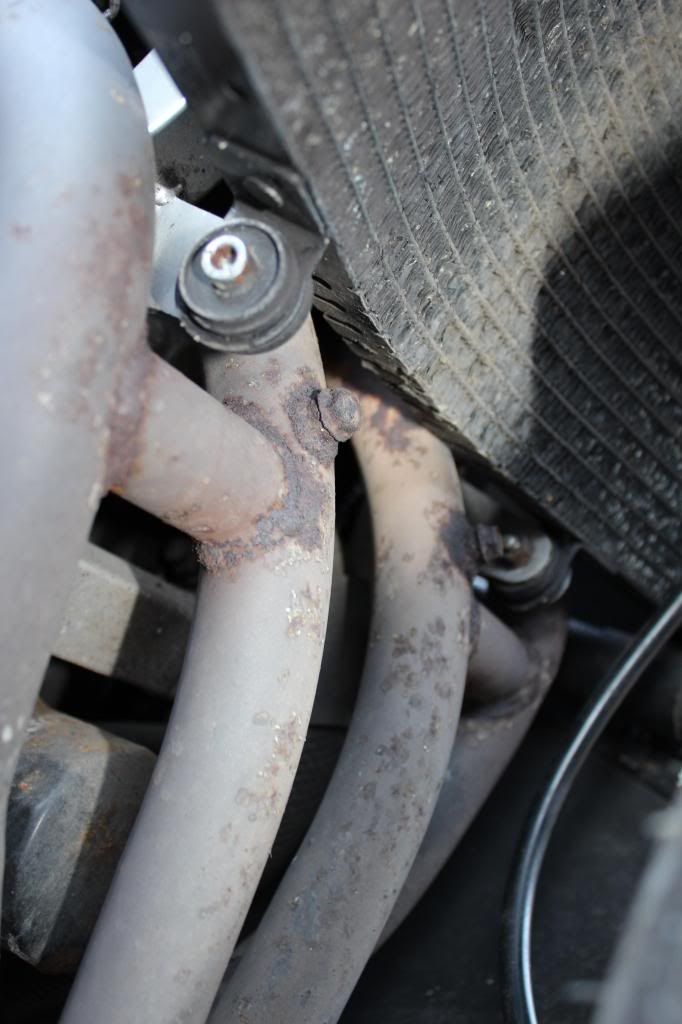
Here you can see the offending header pipes rusted to shit...
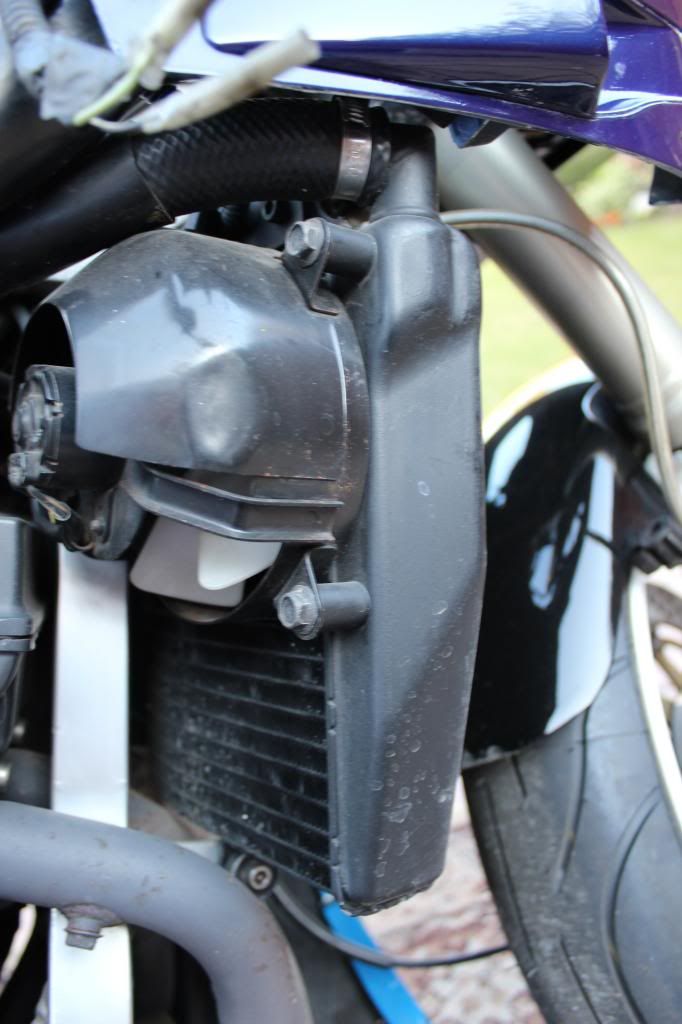
Next step to take the rad off, this obviously wants draining first. I chose the lowest point possible which is the pipe just under the fron sprocket, then took off the nearside (UK Nearside) hose from the radiator and let it dribble for a while. Both fans bolted to the rad need the three bolts taking out in order to move the rad....
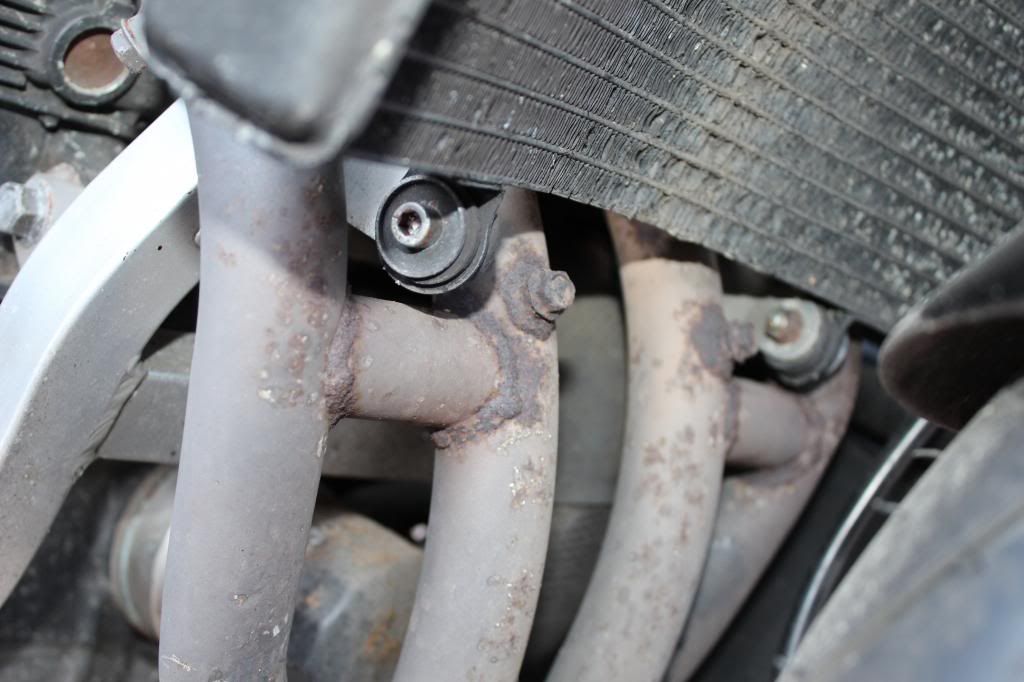
Once this is done theres four bolts holding the rad on, two at the bottom and then another two on top. Ones a the bottom look like this...
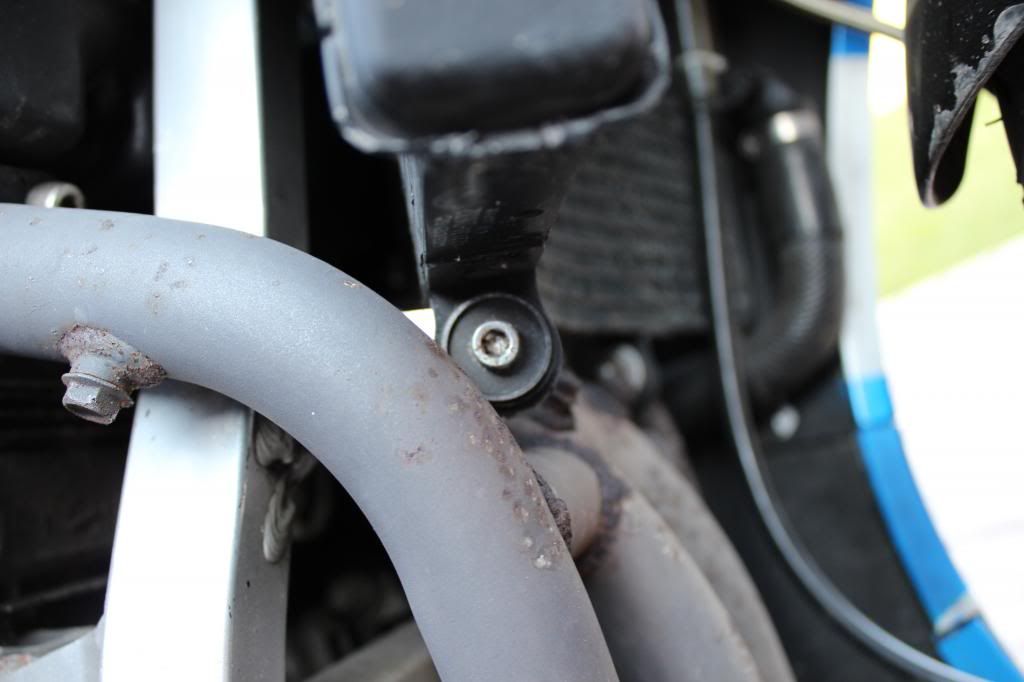
Ones at the top are fairly obvious once you have taken the bottom ones out and wiggled it to see where else it is attached! I didnt bother taking the rad of completely as there is no point. I left the off side pipe connected to the rad and then pulled the rad round to get to all the header bolts easily...
Once this is all out the way, you can easily access the header bolts, although mine were very easy to get out I still gave them a good seeing to with Rost Off as the last thing I wanted was them snapping in the head! Obviously prior to trying to rip out the header pipes the can and link pipe were removed. Once the 8 bolts are out of the header pipes theres one exhaust mount under the bike which needs unbolting and then wiggle those babdoys out of there.
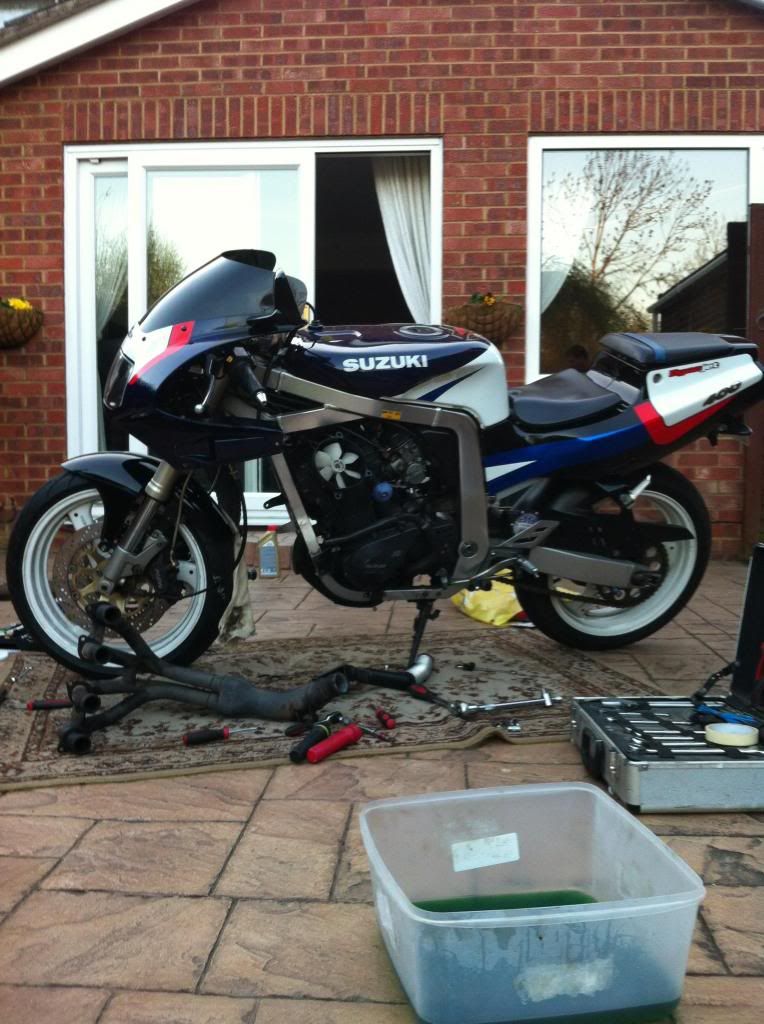
Dont forget to also fetch out the gaskets which will be in the ports. Good idea at this point to get some brake cleaner or equivalent on your rag and just wipe around the ports.
First step was to get all the faring off...

Here you can see the offending header pipes rusted to shit...


Next step to take the rad off, this obviously wants draining first. I chose the lowest point possible which is the pipe just under the fron sprocket, then took off the nearside (UK Nearside) hose from the radiator and let it dribble for a while. Both fans bolted to the rad need the three bolts taking out in order to move the rad....

Once this is done theres four bolts holding the rad on, two at the bottom and then another two on top. Ones a the bottom look like this...

Ones at the top are fairly obvious once you have taken the bottom ones out and wiggled it to see where else it is attached! I didnt bother taking the rad of completely as there is no point. I left the off side pipe connected to the rad and then pulled the rad round to get to all the header bolts easily...

Once this is all out the way, you can easily access the header bolts, although mine were very easy to get out I still gave them a good seeing to with Rost Off as the last thing I wanted was them snapping in the head! Obviously prior to trying to rip out the header pipes the can and link pipe were removed. Once the 8 bolts are out of the header pipes theres one exhaust mount under the bike which needs unbolting and then wiggle those babdoys out of there.

Dont forget to also fetch out the gaskets which will be in the ports. Good idea at this point to get some brake cleaner or equivalent on your rag and just wipe around the ports.
-
Danryan1991
- Settled in member
- Posts: 5
- Joined: Thu Mar 21, 2013 1:36 pm
- Bike owned: Gsxr 400
- Location: Felixstowe, suffolk
Re: GK76a Exhaust
Hi
I replaced my yoshimura exhaust for a Danmoto gp can sounds really nice, not a bad price and it also has removable baffles, I paid £60 off ebay for mine and its a great exhaust.
Hope this helps
I replaced my yoshimura exhaust for a Danmoto gp can sounds really nice, not a bad price and it also has removable baffles, I paid £60 off ebay for mine and its a great exhaust.
Hope this helps