Mr Fen
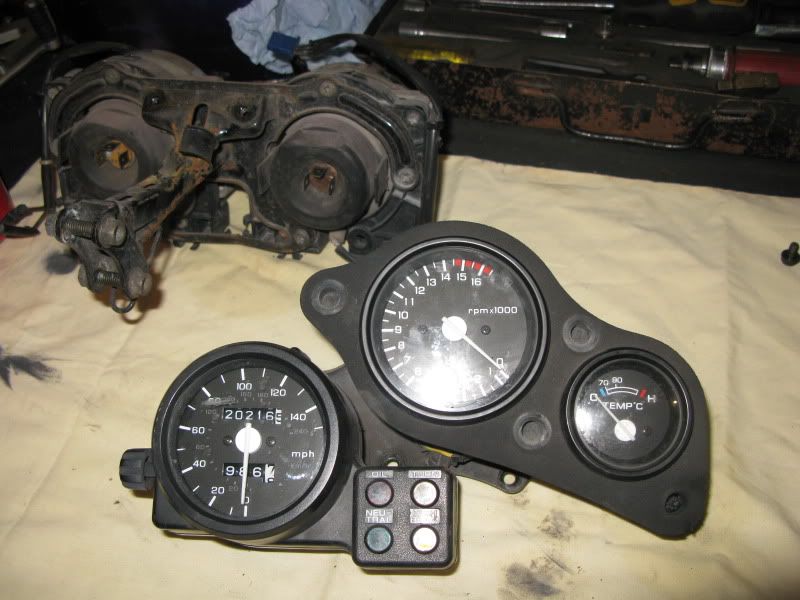
Many thanks for the dials, recived today - very nice indeed.
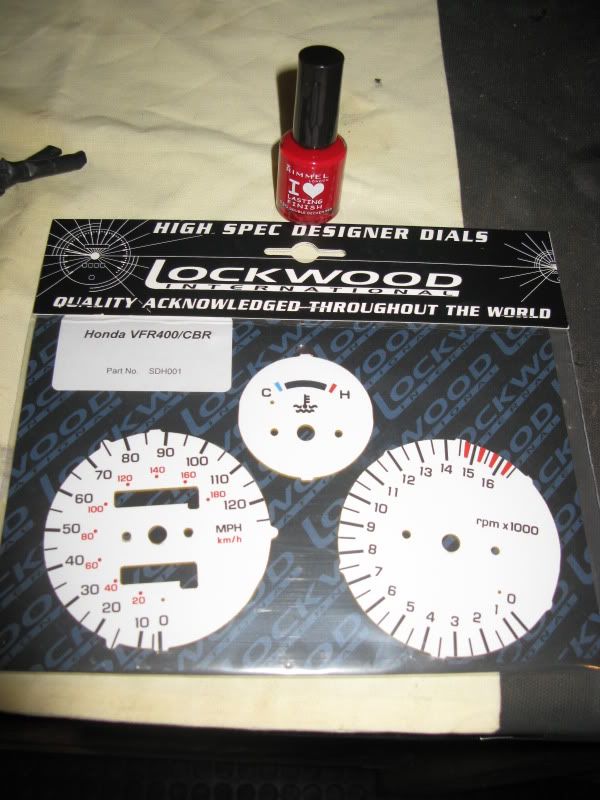
Thought i would take a few photos as i went through changing them for anyone else thinking of this. This is no deffinative guide, just some notes having done it myself. Ok so first of all get yourself a set of dials and a bottle of nail varnish (optional).
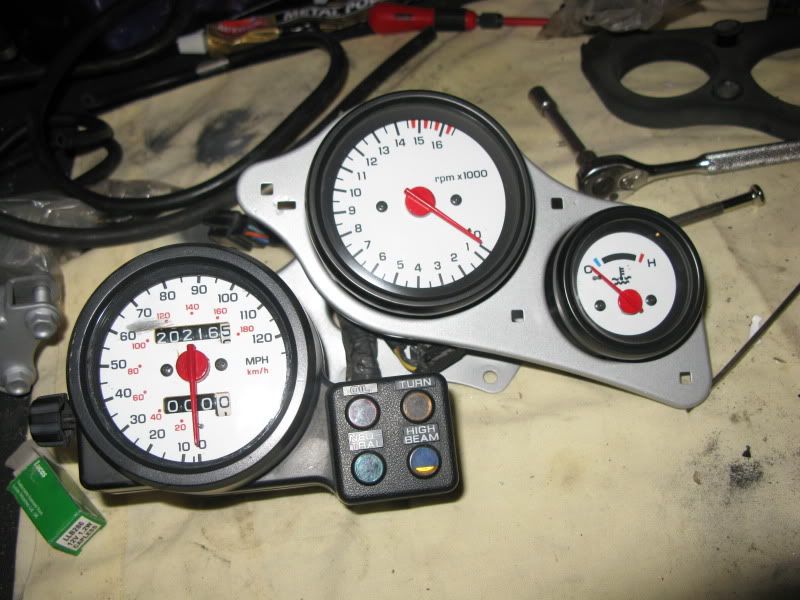
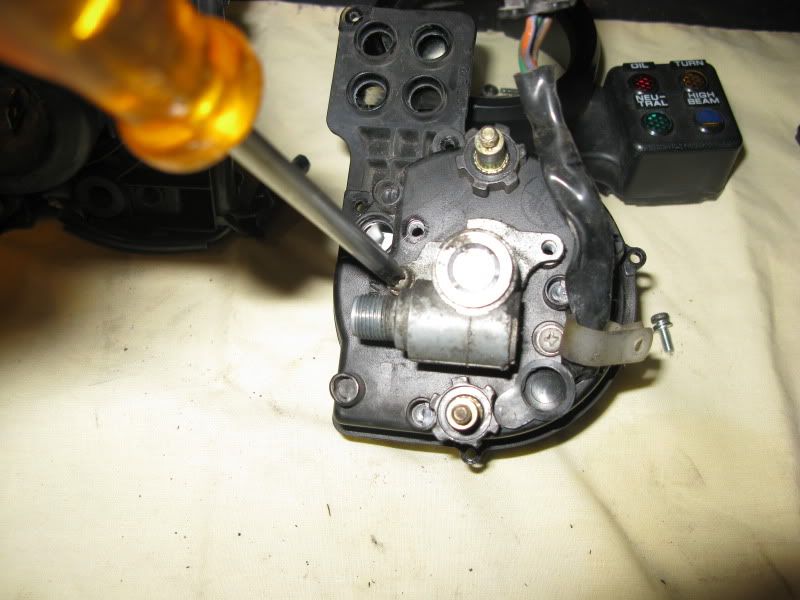
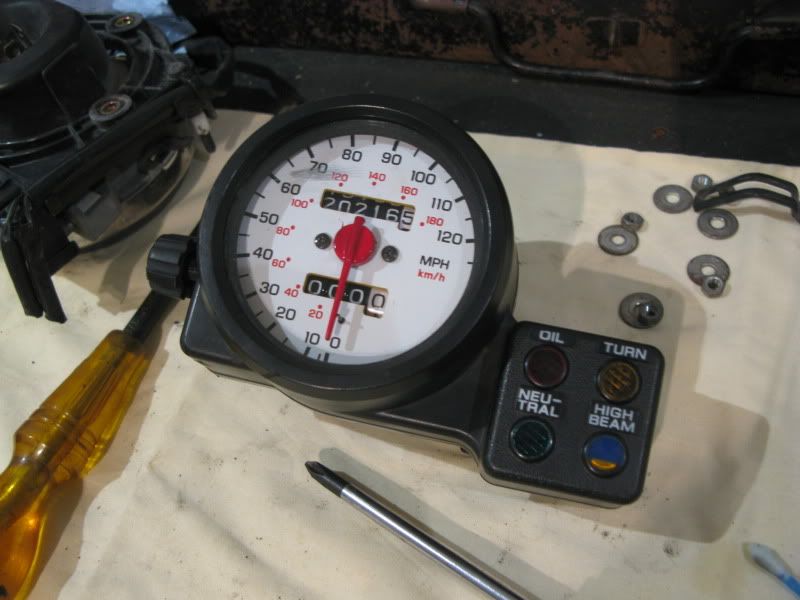
Remove clock / light assembly from the bike to start...
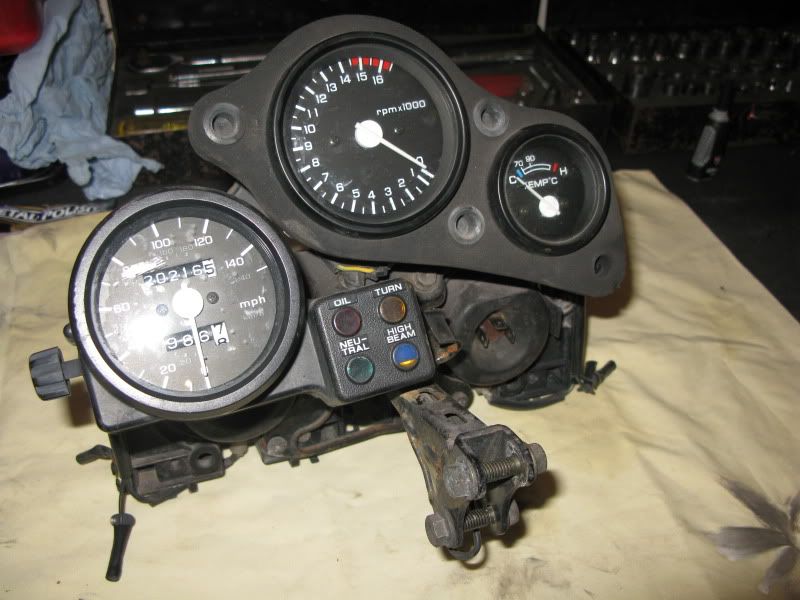
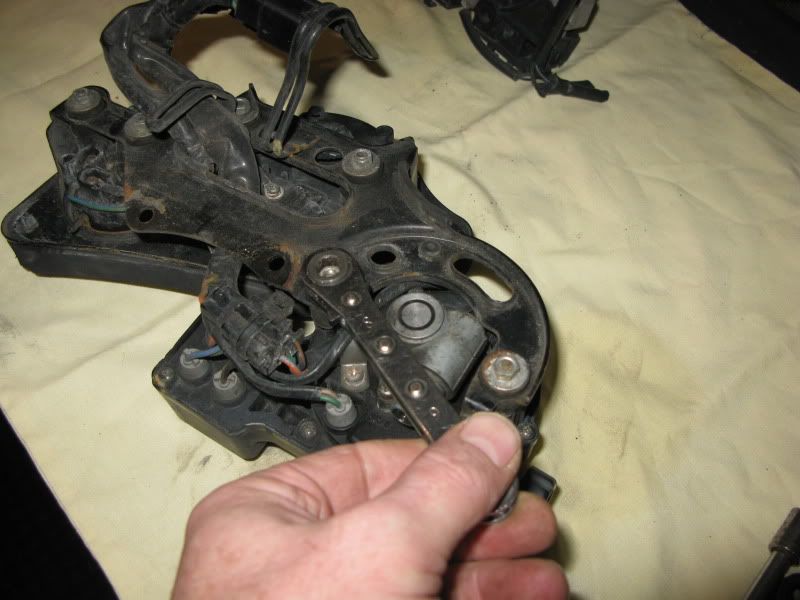
Remove clock mounting bracket from the light bracket...
And then release the clocks from that bracket...
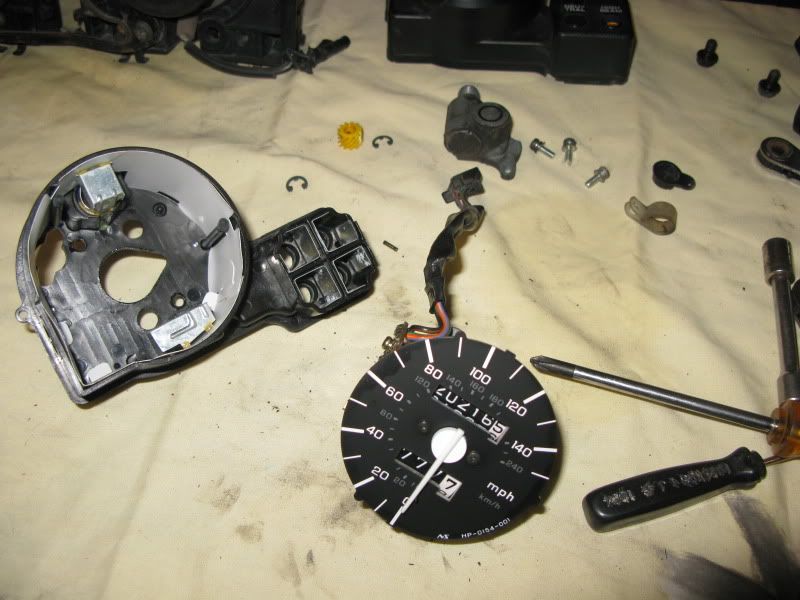
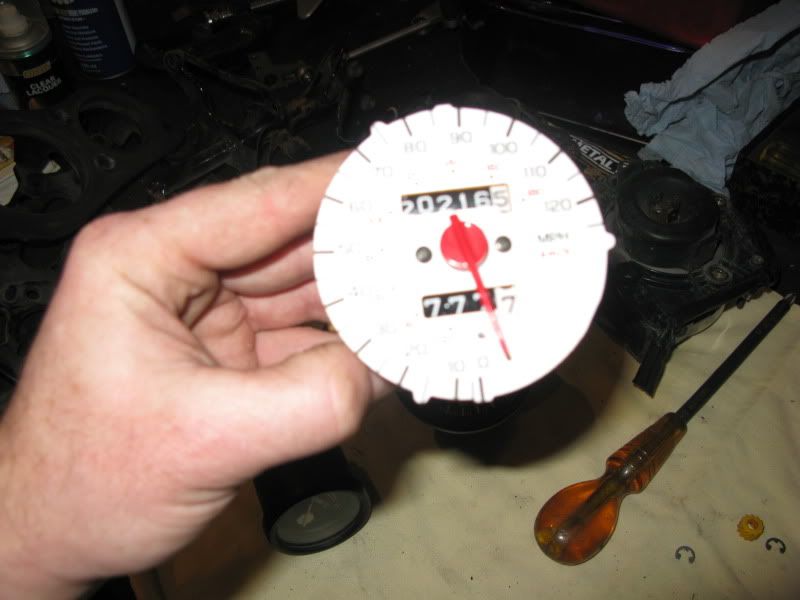
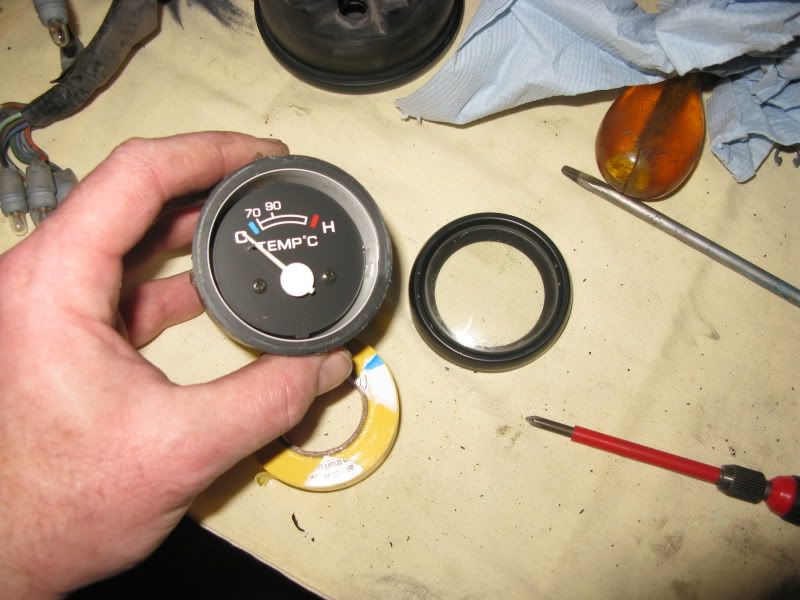
Speedo - This is the easiest of the three dials as the casing is designed to come appart. Unscrew the securing screws at the back of the dial housing...
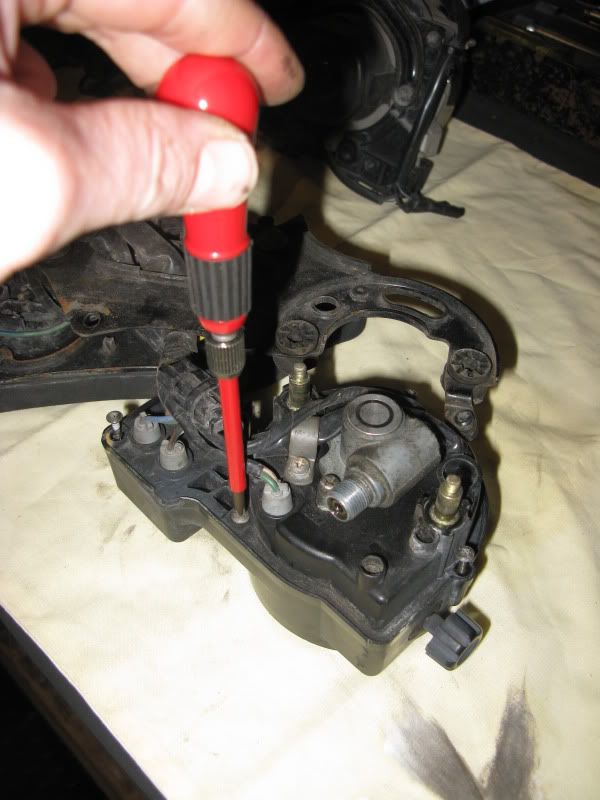
Don't forget the small phillips screw inside the trip meter knob...
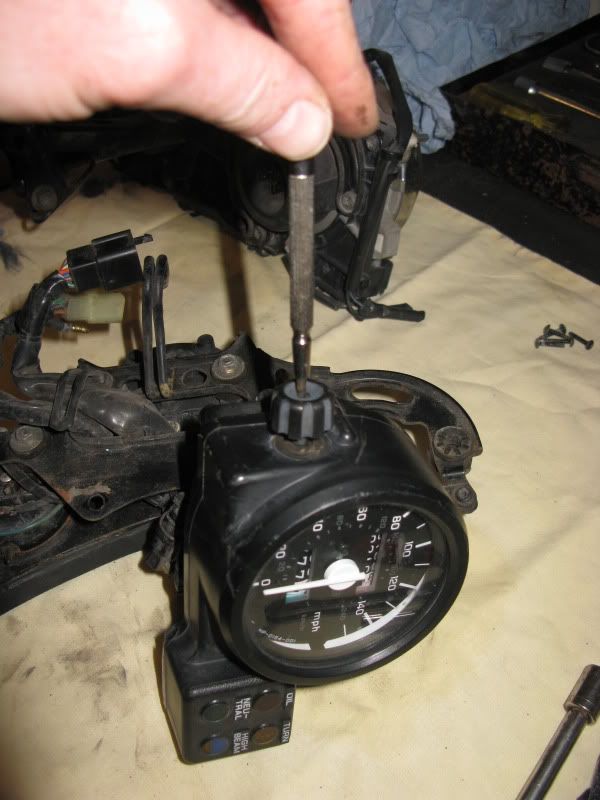
and finally remove the spedo cable attachment housing ...
Once this is off you should be able to take the innards out of the casing (as long as you don't miss a screw like i did and end up taking things to pieces more than you need to - dohhh!)
Once appart use pressure on both sides of the needle to bring it off as straight as possible. The needles are suprisingly stiff to get of so use a little patience and finesse here. I had a smal pair of snipe nose pliers and they worked for me. As i eased the needle up past the stop i noted where it naturally went to (just after the stop as it turned out) so i knew how to realign the needle when it went back on...
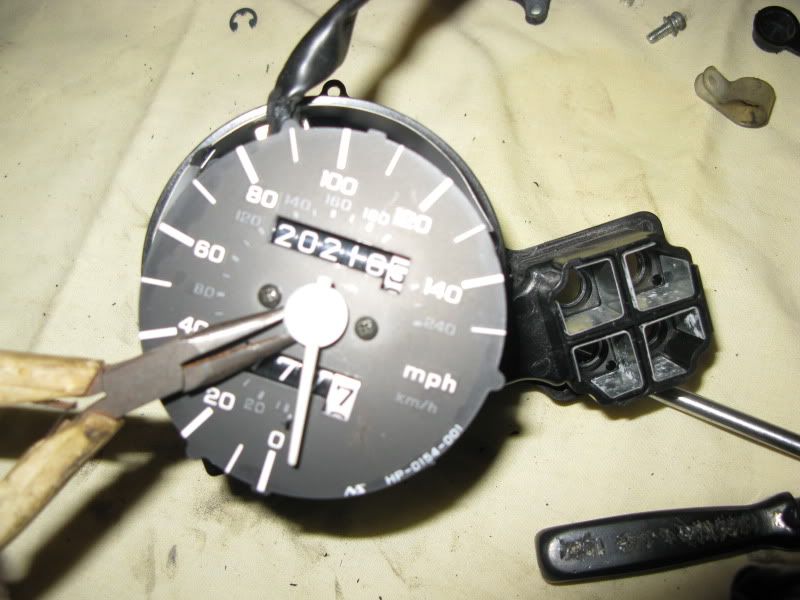
Once off, secure in some way and apply a coat of nail varnish if you want to change the needles from the origonal white. Worth doing this at this point so it can be drying whilst you are doing the next bits...

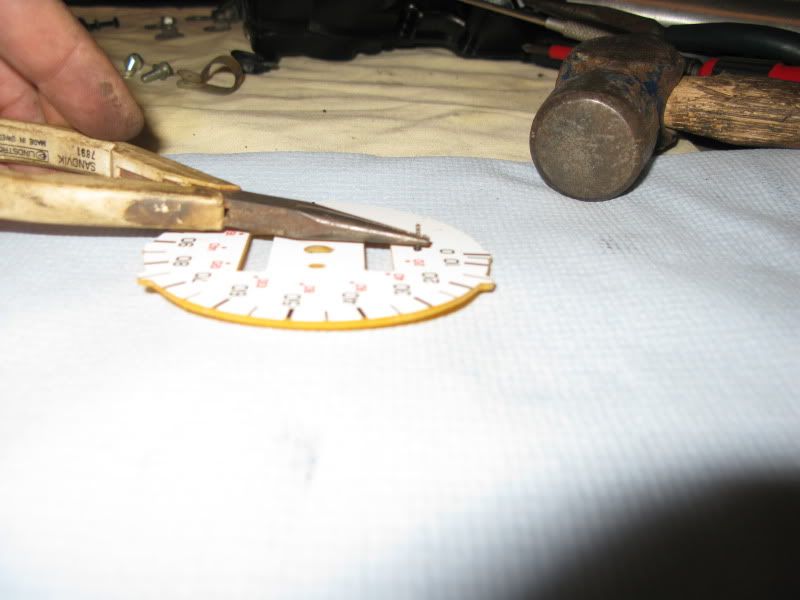
Remove the old dial by undoing the two small screws on the face. You will need to harvest the needle stop from the old dial at this point. Invert the old dial over a spaner (or such like) so the dial stop has enough space below it. Using a sharp and pointy implement of your choice (i used a scribe) and a hammer, knock out the needle stop pin from the read of the dial...

Having got the pin out of the old dial and having placed the new dial on a firm surface, line the pin up with the pre drilled hole in the new dial and tap home with a smal hammer...
Hopefully your needle is dry by now (wait until it is properly dry as it is very easy to mark if still tacky) so refit....
Replace into housing, replacing trip meter knob and securing screws....
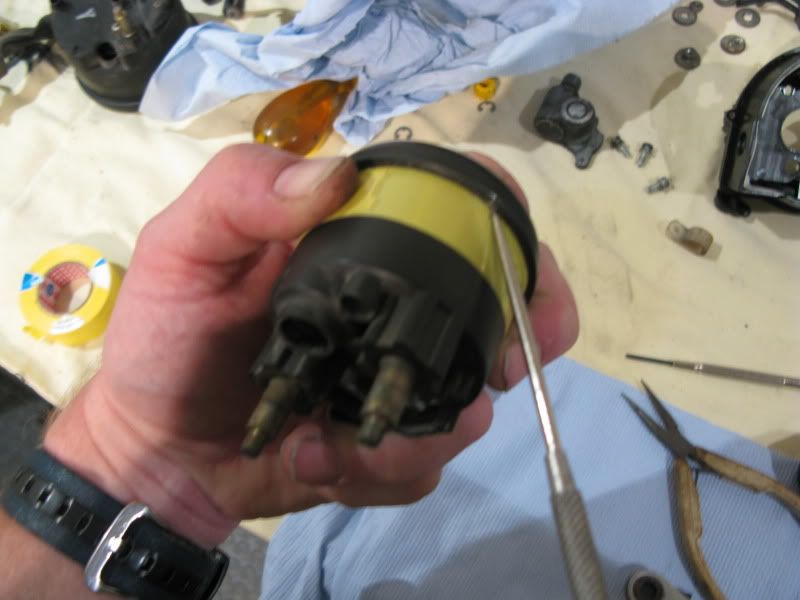
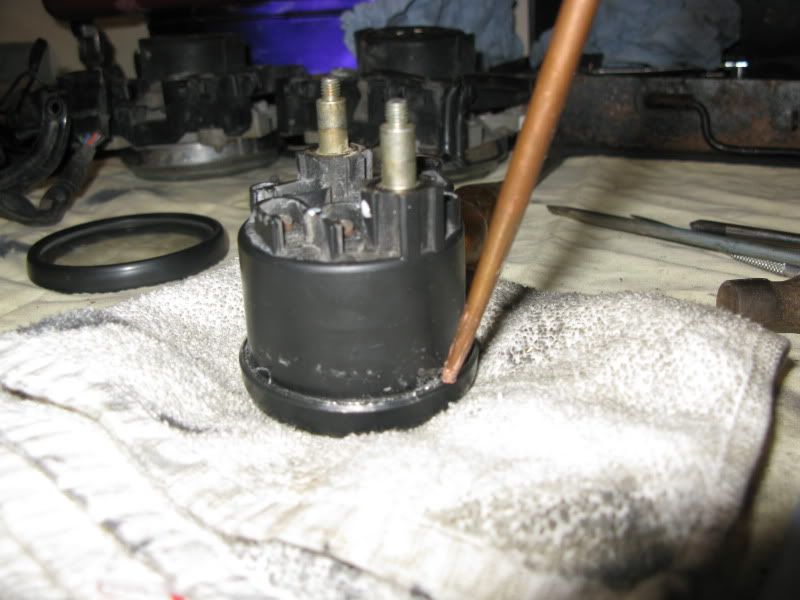
Temp guage and Rev counter are basically the same process but unfortunately the casings were not designed to come apart so easily. to gain acces to the dials on these guages you need to lift the rear flange on the glass bezzle. This is actually not as hard as it might sound, it just needs a little patience. Use somthing like a small electrical scredriver to get started but very quickly you can get a larger bladed screwdriver under the lip and stedily work it all the way around...
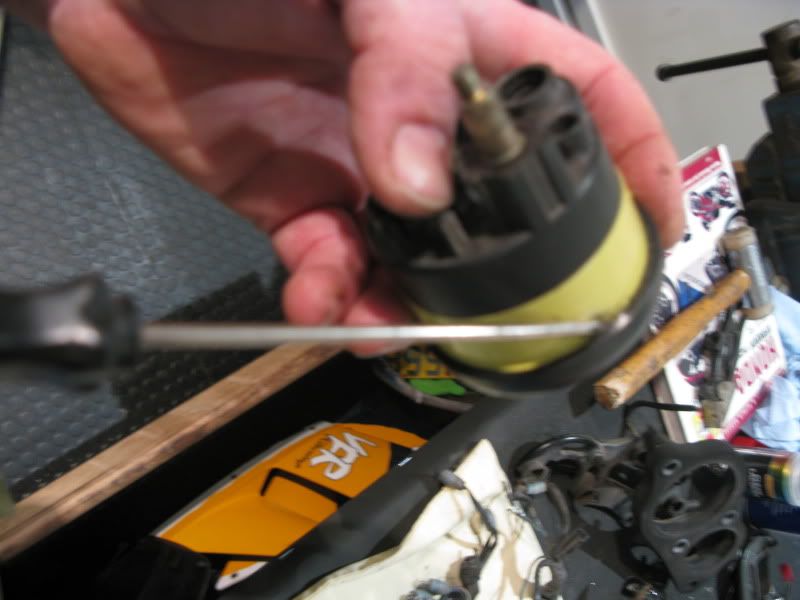
Once you have gone all the way around you can either pop the bezzle and glass of using a screwdriver (carefull of the glass) or just work it around like a jam jar lid by hand and it will come off OK with a bit of effort...
Same process for the needle and dial face as per the speedo, but when you have finished you have to replace the glass and bezzle and reform the flange at the back to hold it in place. Trial and error at this point to find what works best for you but a small drift with the dial on a soft bed to protect the face works ok..
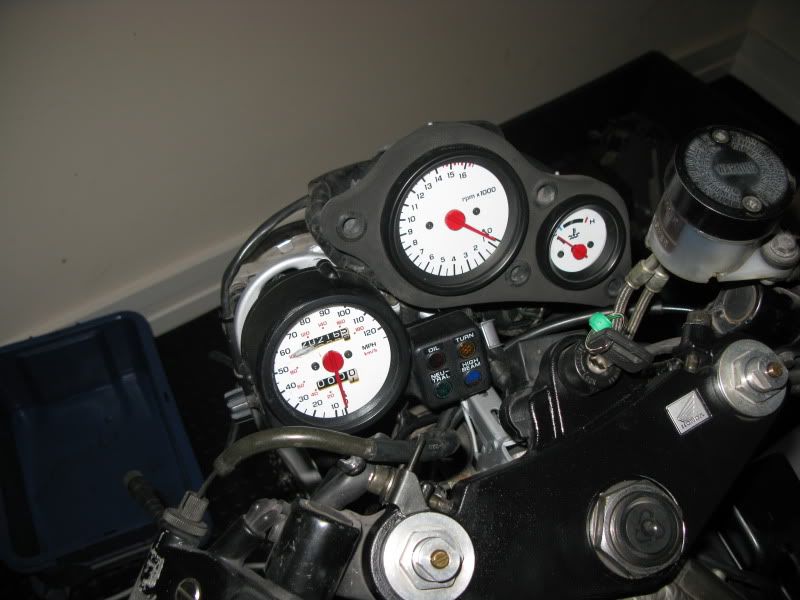
Same again for the Rev counter and voila - one set of blinged up dials.....

A fairly easy evenings work - only reason i have not rebuilt the brackets as well was having got this far i decided i would give them a bead blast and fresh coat of paint as well. Hope that helps anyone thinking of doing their dials.
NGneer
P.S - finally got around to putting the refurbished brackets back together and back onto the bike so thought i would add a couple more pictures to round this off