Page 2 of 6

Re: Benny's Carbon Tank Cover

Posted: Tue Oct 13, 2015 10:35 pm
by Variablevalves suck
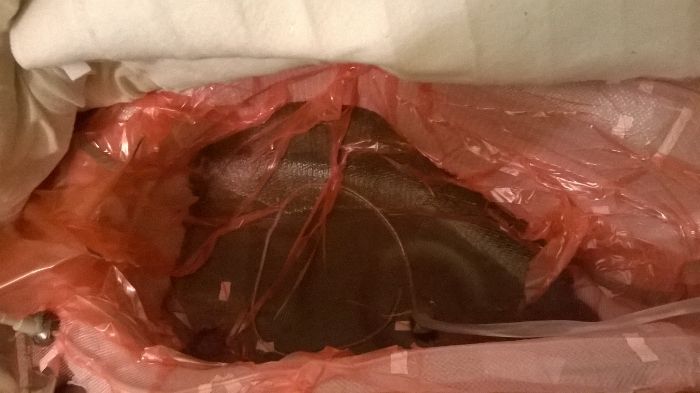
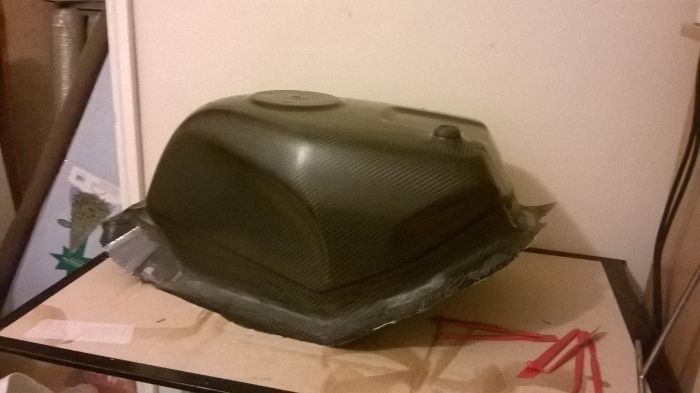
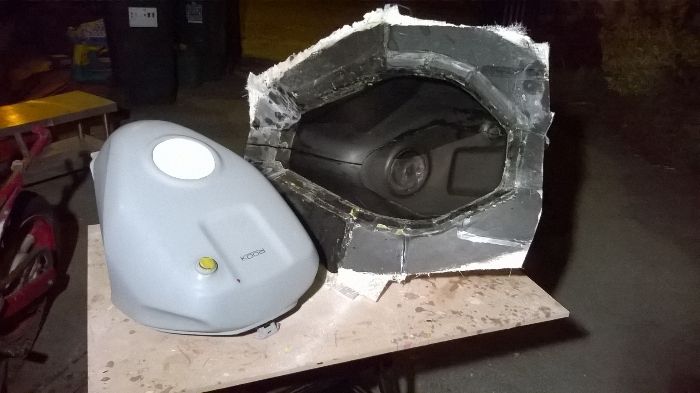
Excuse the picture quality but dark nights are upon us and I've no flash on the camera.

Anyway, apart from a little fettling we now have a finished mould,
Just need to trim the edges and do a bit of polishing then we can start laying CF.
Image

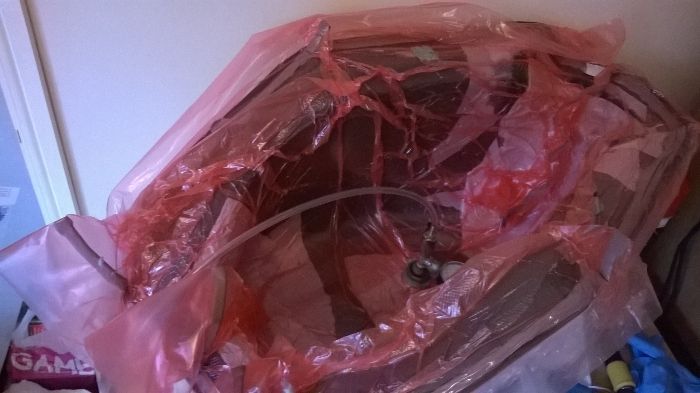
We now have a three part mould made using easycomposites uni-mould system that comprises of
A black tooling gel coat, a coupling coat with 200grm csm and a final mould resin and 4 layers of
400grm csm, quality.

Re: Benny's Carbon Tank Cover

Posted: Wed Oct 14, 2015 10:16 am
by vic-vtrvfr
Great work Sir, keep it up!

Re: Benny's Carbon Tank Cover

Posted: Wed Oct 14, 2015 1:02 pm
by Tim400GB
Indeed! Great work!

Re: Benny's Carbon Tank Cover

Posted: Sun Oct 25, 2015 6:16 pm
by Variablevalves suck
Cheers.
Ive done more work on the tank cover,
not been as quick as I'd like, sorry benny, but moving forward.
The infusion is finished but ive not had time to de-mould.

Stack in mould and under vacuum.
Image

Re: Benny's Carbon Tank Cover

Posted: Sun Oct 25, 2015 6:19 pm
by Variablevalves suck
Another picture of the finished infusion.

Image

In fact its the infusion at the mid point so you can see the colour change as the resin flows.

Re: Benny's Carbon Tank Cover

Posted: Mon Oct 26, 2015 1:36 pm
by Yakama
looking good!

Re: Benny's Carbon Tank Cover

Posted: Sat Oct 31, 2015 8:23 pm
by Variablevalves suck
Done some more work on the tank,
I'm fact I've done a lot of work and getting close.

Ive striped all the infusion mesh which is a ball ache of a job and takes an age
I decided to add some aramid/carbon reinforcements to the mounting points
So the tank went back in the vacuum bag.
Image

If you look at each end you can see the white of the peel ply and cloth used to soak up excess resin
If I simply lay cloth it would be resin rich affecting strength and weight.

So after re stripping the mould we can move on the the next stage.
Getting trick now and applying a layer of nomex honeycomb.
Image
This is used in F1 ,Moto gp etc to make very ridged but light panels,
It spaces the layers of CF apart so effectively gives the stiffness of a much thicker but heavier panel.

Its a very involved process where by I have to roller a very thin layer of resin to the inside
of the outer layer then place the nomex inside, apply a layer of peel ply, another layer of
cloth and re bag again.

Here we are again all bagged and under vacuum.
Image

Tomorrow I will lay a last inner layer of CF and bag again.
As you can see its mega labour intensive and this is the main reason CF parts cost
so much, the cloths and resins are expensive but to do things properly and produce
super light but stiff parts takes time.
Have to have lots of patience as well,haha.

Re: Benny's Carbon Tank Cover

Posted: Sun Nov 01, 2015 8:40 pm
by Variablevalves suck
Tank is out of the mould!
Need to trim it and then fit it up to the bike at the rear,
I can then figure out a front mount and finish off.

Image

Looking pretty trick and will definitely take some weight off the top of the bike,
The nomex was a pain to work with but has given the stiffness I was after,
Didn't see the point of building it super light and then it flexing and moving about
when you are in a corner.

Re: Benny's Carbon Tank Cover

Posted: Sun Nov 01, 2015 9:39 pm
by Dynamohum
Genius work .
Out of curiosity nomex is that the same stuff used in pilots f1 etc clothing for its fire retardation properties ?

Re: Benny's Carbon Tank Cover

Posted: Sun Nov 01, 2015 10:41 pm
by Variablevalves suck
Cheers.
The nomex is same said stuff that's used in fire proofing,
its similar to Kevlar, aramid,twaron, etc.
Think most of it is the same just has a brand name.
They come in fabrics, mats and the honeycomb as I used.
Cool stuff but a pain in the butt to use.